Campaigns are created in the Campaign Wizard.
To start, click on the Create Campaign button in the header.

Campaign Set Up
In step 1 of the Campaign Wizard, you set up your campaign using the options available.
-
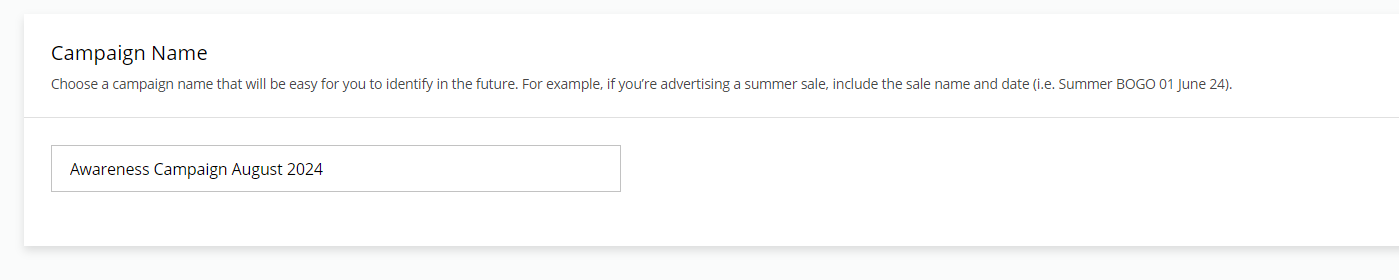
Enter a name for your campaign and click Next.
-
Choose your targeting strategy for your campaign
Choose your targeting strategy on the Postmedia network by desired audience, contextually relevant content or geographical location. When choosing audience or content, you can also choose geographical location for enhanced targeting.
Specific selections of Audience type, Contextual interest and Geographic locations will be done at a later step.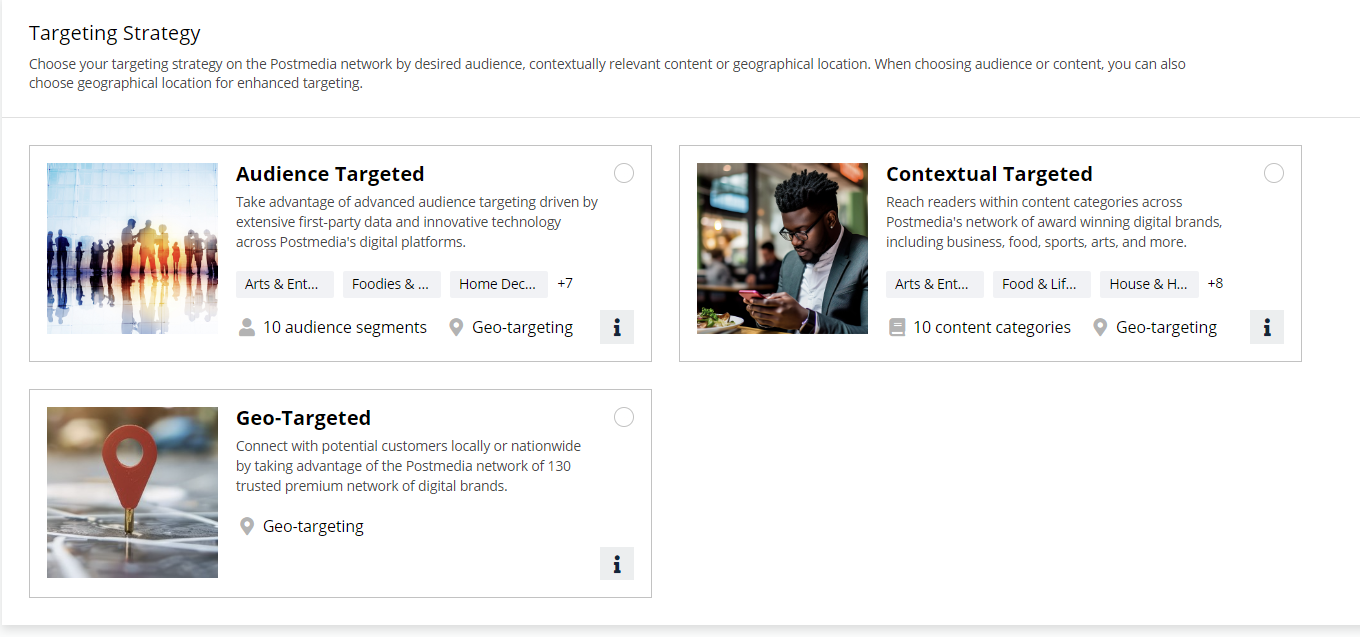
-
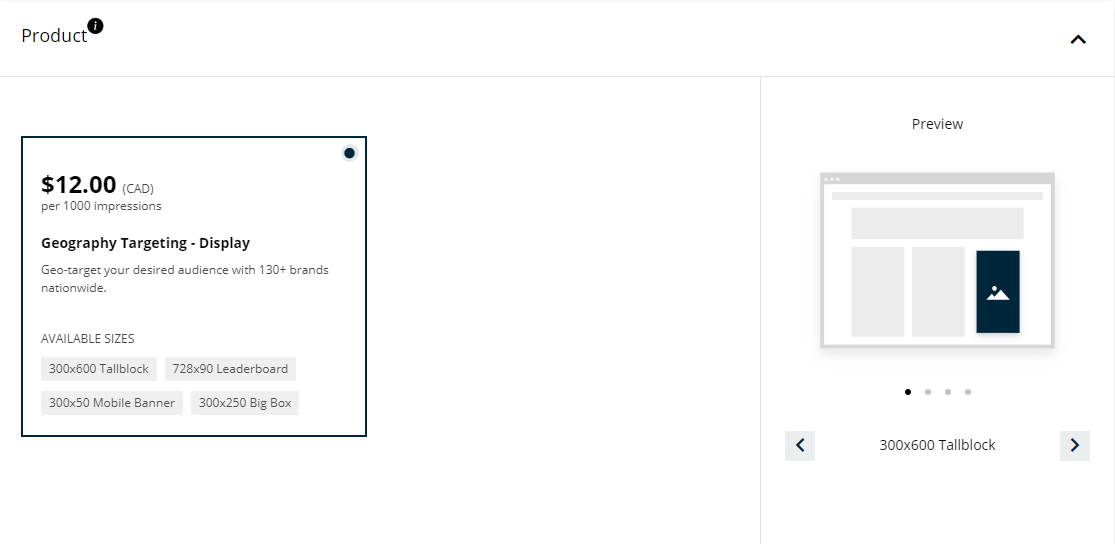
Product
Available products are the standard display ads, which are banner ads published across the Postmedia ecosystem (mobile and tablet apps, and website). Available formats are 728x90 (leaderboard), 300×250 (big box), 300×600 (mobile tallblock) and 300x50 (mobile banner).
Preview the ad units in the Preview section by clicking the left/right arrows.
-
Click Next to proceed to the next step.
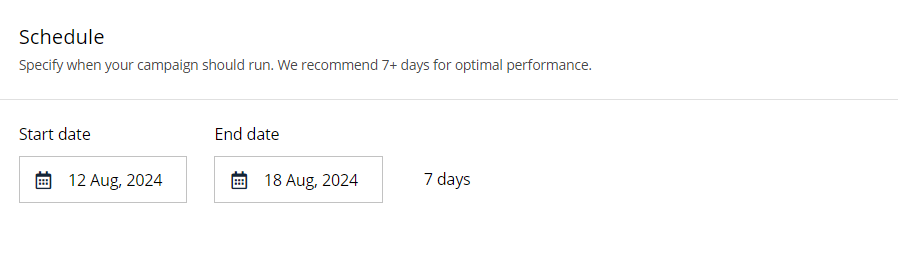
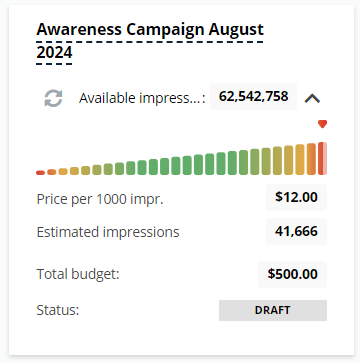
Schedule and budget
In step 2 of the Campaign Wizard, you determine the schedule and the budget for your campaign.
First, indicate the period of your campaign by selecting the start and end date.
Unless the campaign has been paid for, you can always change the dates. Once the campaign is paid, only the end date can be modified.
Then, enter the budget you wish to invest in your campaign.
You can switch between setting your budget in dollars or impressions by clicking on the arrows.

You only pay for what is delivered. If the campaign does not deliver all the impressions booked, you will receive a refund.
Availability
At each step, the platform verifies if the impressions you are looking for are available. You will be notified if there is limited availability.
If the availability of impressions is low for your campaign, you can extend the delivery period or broaden your targeting.
Targeting Strategy
The next steps of the Campaign Wizard are dedicated to targeting by desired audience, contextually relevant content and/or geography.
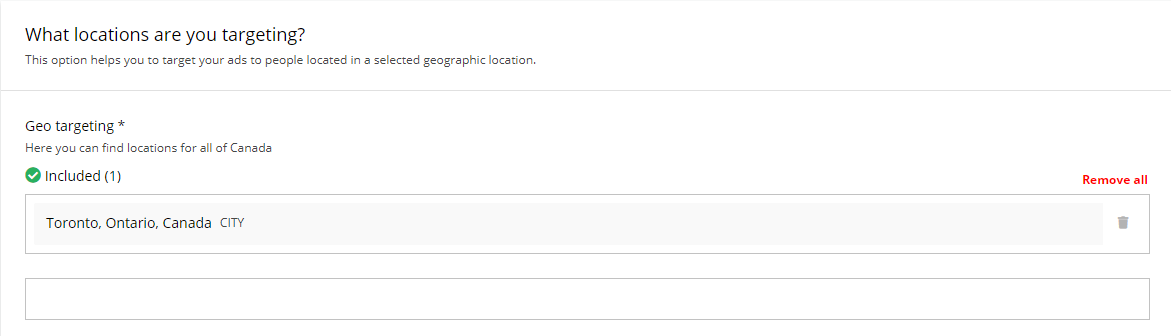
Geo-targeting
The next step allows you to define geo-targeting. Here you can select one or more provinces or cities in Canada.
Geo-targeting is optional. Click Next if you want to skip this step.
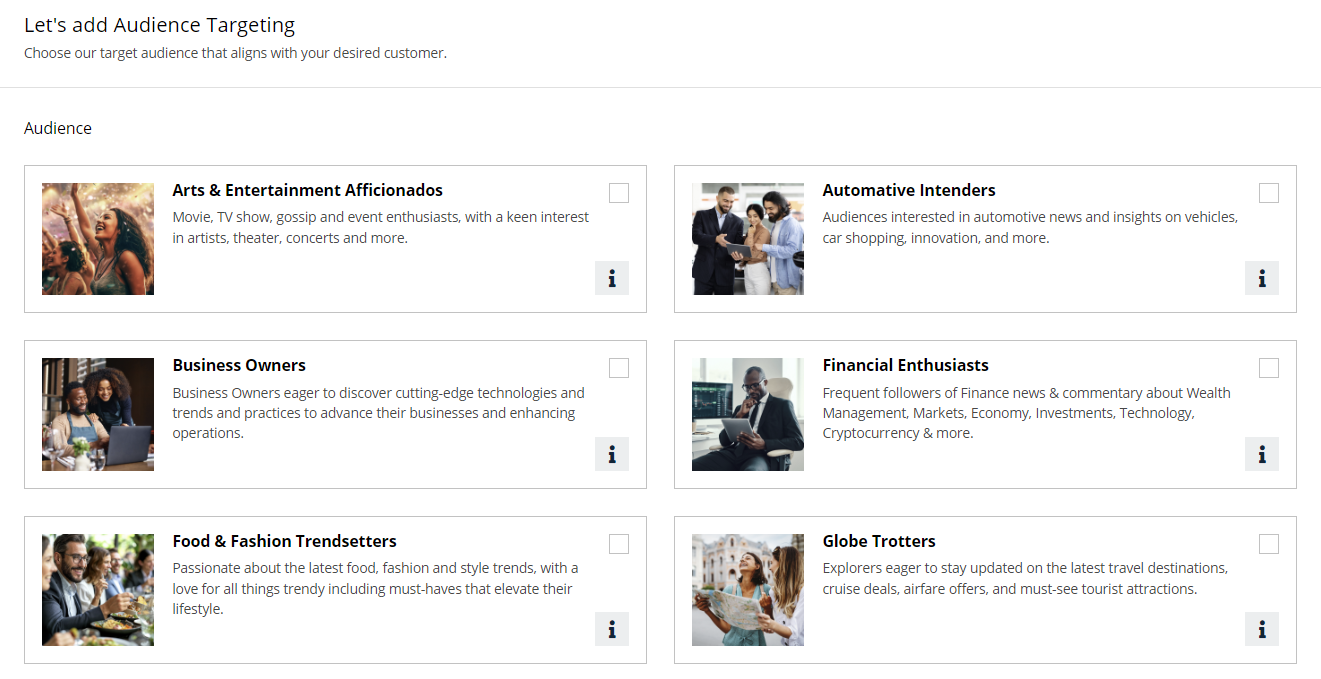
Targeting by audience
If you have selected Target a specific audience in the Campaign setup step, it’s in step 4 of the Campaign Wizard that you select one or more audience segments based on areas of interest. You can choose as many segments as you wish.
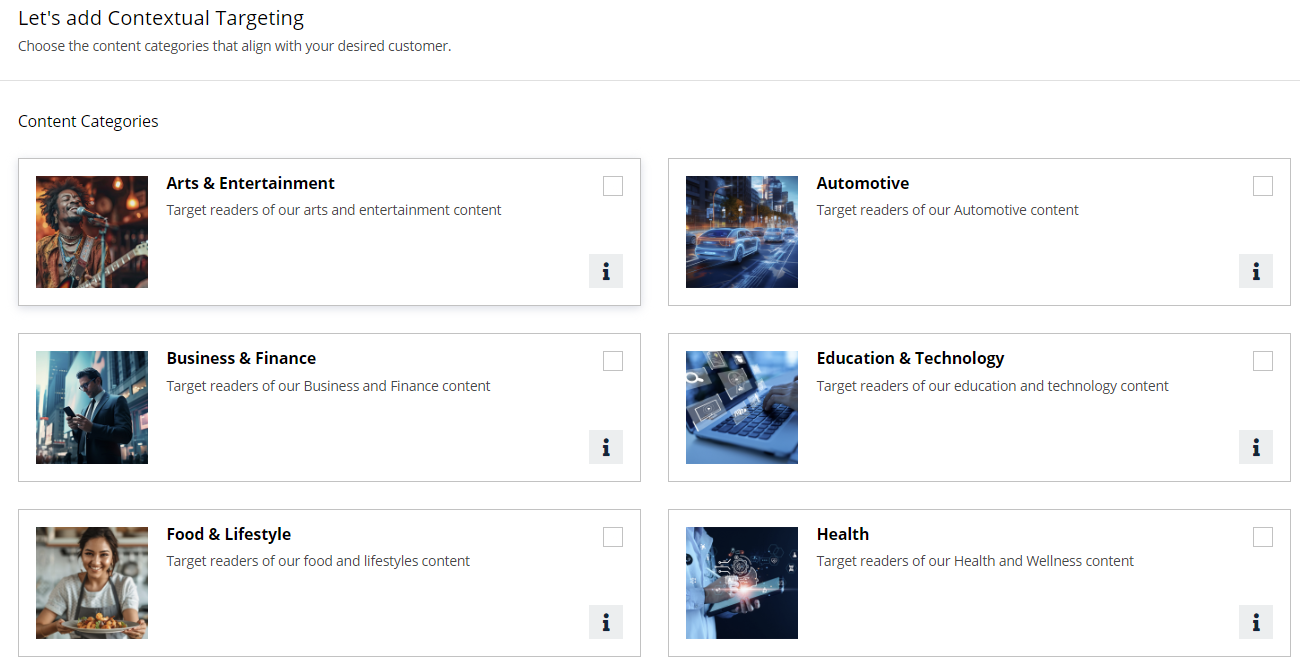
Contextual targeting
If you choose to reach readers within specific content categories, in the Campaign setup step, it’s in step 4 of the Campaign Wizard that you select one or more contextual categories based on areas of interest. You can choose as many categories as you wish.
Creatives
In the next step, you can upload, create, or edit your creatives. Creatives are your actual ads which will be shown to your audience.
You can add your creative(s) while creating your campaign by clicking + New creative or you can skip this step and come back to it later by clicking Add Creative later.
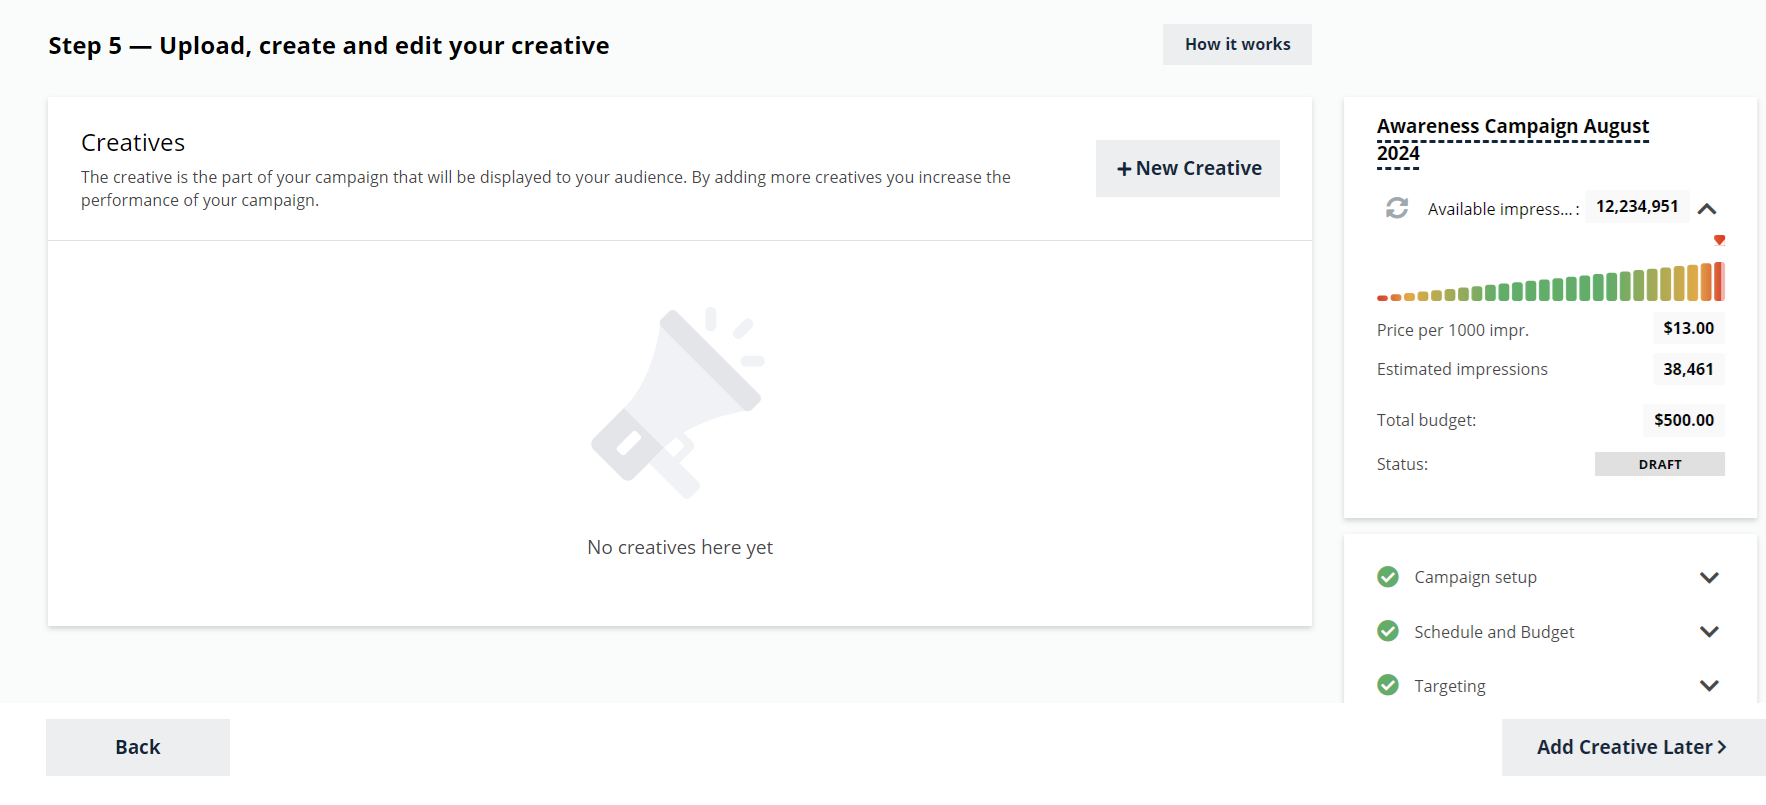
For more information on the creatives, go to the Creatives section.
Review
In the last step of the Campaign Wizard, you review your campaign.
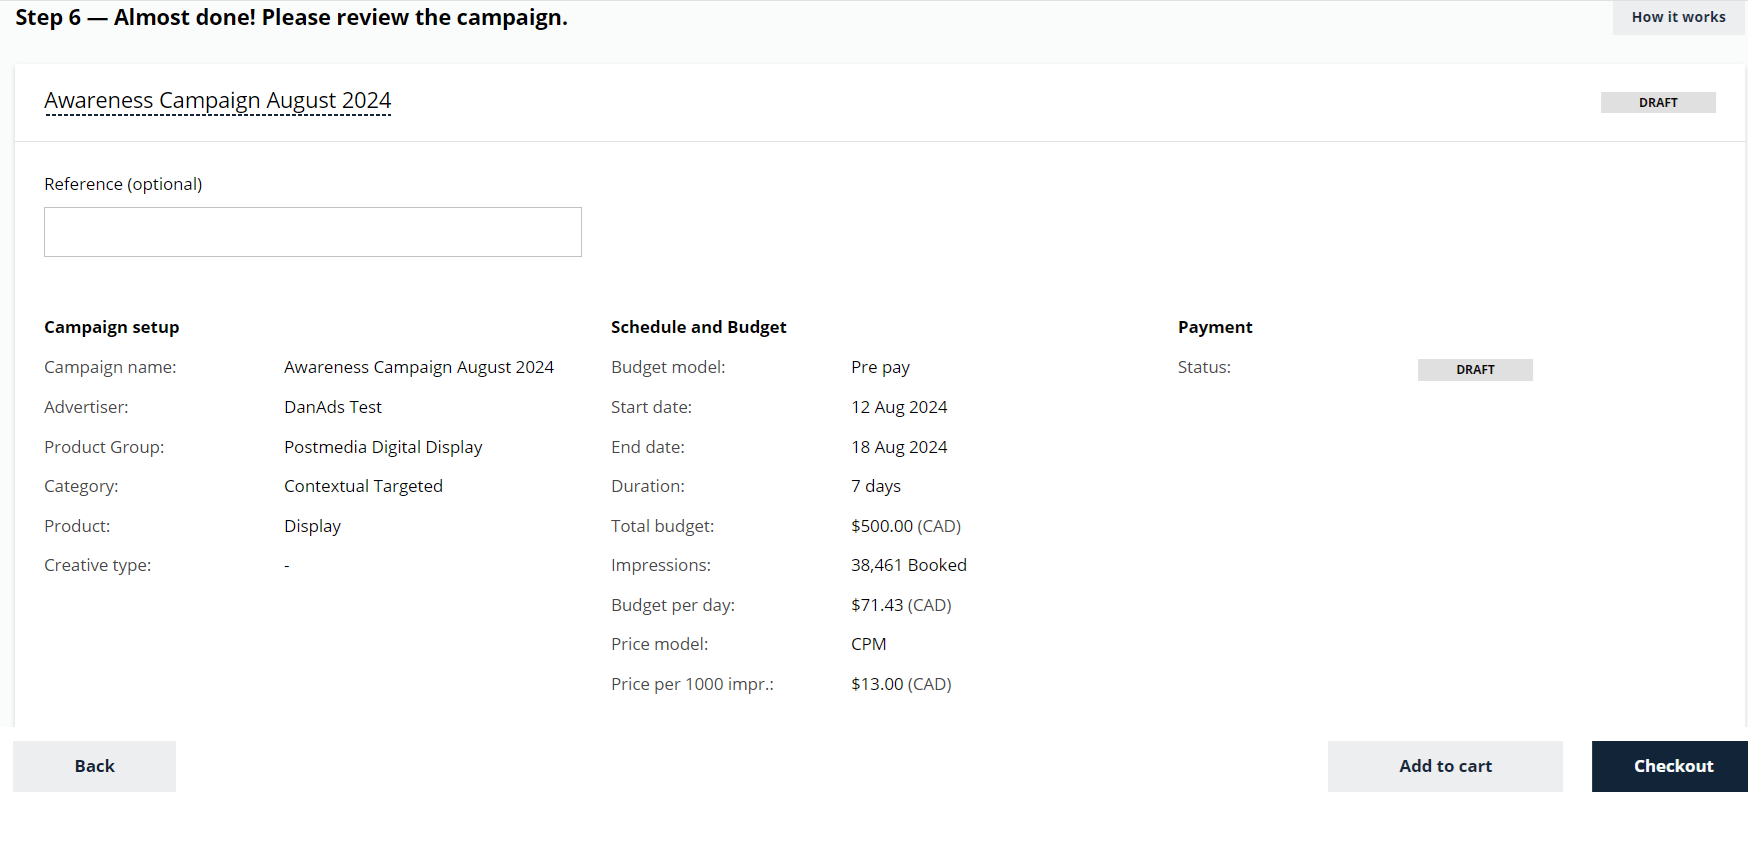
When you are done, you can either Add to Cart or Checkout.
Campaign status
-
As of step 2 (Schedule and budget) of the Campaign Wizard, the campaigns are automatically saved as a Draft.
-
Once a campaign is paid, the status changes to Pending.
-
Once the start date is reached, and if there is at least one creative approved, the status changes to Live.
Checkout
For more information on payment, go to the Checkout and Payment section.